How to Deactivate Facebook and Vanish Gracefully


If you want to learn how to deactivate Facebook, you’re absolutely not alone. Life already feels like a nonstop group chat, and sometimes you just need to step back and breathe. The world will keep spinning even if you take a break. Here’s a clear guide to help you leave the app without losing your peace of mind.
Many people deactivate Facebook because they feel overwhelmed by notifications, constant comparison, or endless scrolling. It becomes a habit that drains time and energy. When you temporarily deactivate, you get space without losing everything your profile holds. You can still come back whenever you want—deactivation isn’t deletion. You’re just quietly stepping away for a while.
Some people want a softer exit instead of permanently deleting their account. Deactivation works perfectly when you need a break without fully committing. Think of it as a digital time-out that protects your information in case you return later.
What Happens When You Deactivate
When you deactivate, your profile picture disappears from public view. People won’t find you in searches, and your page and posts become hidden. Only you can access them if you choose to reactivate later. Friends can’t tag you, send invites, or view your history.
However, Messenger can remain active if you choose. Even after deactivating, you can stay logged into Messenger and keep your conversations going. If you prefer complete silence, you can turn off Messenger too. You control what stays active and what goes offline.
Facebook stores your content in backup storage, including your photos, posts, and profile information. This allows you to simply log back in and regain access whenever you want. It’s temporary, not final.
READ ALSO: How to Grow an Audience on Facebook
Deactivation vs Deletion: The Big Decision
Deactivating is the gentler option. It hides your information without permanent deletion. You can take a break and return when life feels less chaotic. When you access the account settings, you’ll see a clear option to deactivate.
Deleting is intense and irreversible. When you permanently delete, you start a deletion request that can’t be undone. After the waiting period, no one can recover your information—no posts, pictures, friends list, or messages.
Before deleting, you can download your data first. This includes photos, videos, and profile archives. If you want an exit but still want your memories, download everything before confirming. Once deletion is final, there’s no going back.
Where to Find the Settings
To begin, open the Facebook app and tap the menu icon. On iPhone, you’ll find it at the bottom right corner. On Android, it’s at the top right corner. This menu leads you to the settings and privacy options.
Scroll until you find the settings, then tap Accounts Center. Facebook now organizes everything under Meta tools. Inside Accounts Center, go to Personal Details, then select Account Ownership and Control.
When you click Account Ownership, you’ll see options for deactivation or deletion. Facebook hides these buttons deeper than necessary, but now you know exactly where they are.
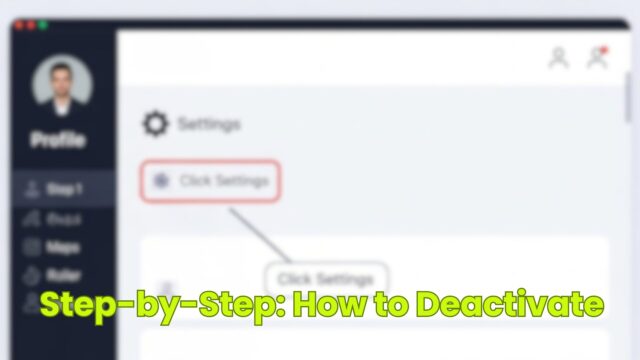
Step-by-Step: How to Deactivate
Step 1: Open the settings menu inside the Facebook app.
Step 2: Navigate to Settings & Privacy, then locate Accounts Center.
Step 3: Go to Account Ownership and Control, then tap Deactivation or Deletion.
Step 4: Choose “Deactivate Account.”
Once you select this option, Facebook will ask for your password to confirm. This ensures you’re the one making the choice. After entering your password, tap Continue.
Facebook will then ask several questions, such as whether you want Messenger to remain active or if you want your profile picture to appear in some areas. Adjust these based on your preferences. When done, confirm your choice and Facebook will instantly deactivate.
READ ALSO: How To Engage Your Community Via Facebook Groups
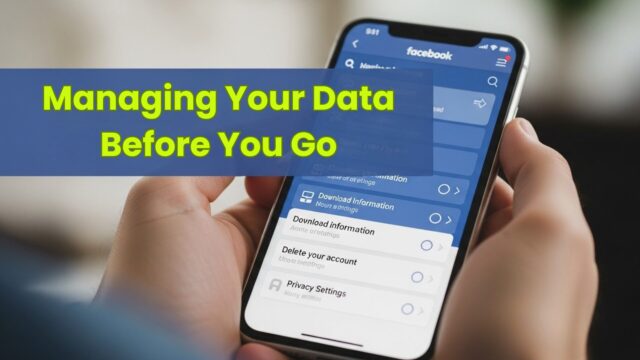
Managing Your Data Before You Go
Before deactivating or deleting, make sure your memories and important details stay safe. Both the app and website let you download a copy of your data—photos, posts, messages, and more—so you don’t lose anything you might want later.
To download your information, log in and click the menu in the top right corner. Select Settings, then look for the option to download your information. This way, you’ll have a backup even if you delete later.
Review your account settings and personal details before leaving. Head to Accounts Center to manage ownership, check privacy settings, and see which accounts (like Instagram) you’ve linked. This is the perfect time to tidy up—remove what you no longer need, update your details, and make sure everything is correct. A little preparation can make your exit smoother and give you peace of mind.
What Happens to Instagram?
Meta connects Facebook and Instagram through the same Accounts Center. Some people worry that deactivating Facebook will also pause Instagram, but don’t worry—deactivation only affects your Facebook profile.
If you want to deactivate or delete Instagram too, you must do it separately. Instagram stays active even after Facebook deactivation. Your posts, stories, and reels remain visible unless you manually change settings.
The only time both accounts deactivate together is if you choose full Meta account deletion, which is an entirely different process.
How to Permanently Delete Your Account
Deleting requires confidence. Begin in Accounts Center just like you would for deactivation. When you access Account Ownership, choose “Delete Account” instead of deactivate. This launches the deletion process.
Before confirming, Facebook reminds you that deletion is permanent. You can download your information first, including photos, videos, and backup files. If you skip this step, everything disappears after the deletion period ends.
When you confirm, Facebook starts the countdown. You can still cancel by logging back in before the deletion period ends. After that, the process becomes permanent and irreversible.
READ ALSO: Facebook Common Issues and How to Report Them
Using Messenger After Deactivation
One of the perks of deactivating is that you can still keep in touch through Messenger. Even with your main account deactivated, Messenger remains available. Just open the Messenger app on your device and log in with your usual credentials. You can also access it from the website by clicking the Messenger icon in the top right corner.
To keep using Messenger after deactivation, make sure you select “Deactivate” (not “Delete”) in your settings. Choose “Deactivate Account” and confirm your choice. Your main profile goes dark, but Messenger stays active so you can continue chatting.
However, if you delete instead of deactivate, Facebook will permanently delete your Messenger account too. That means all your messages and contacts disappear, and you won’t be able to log in anymore. So if you want to keep those conversations going, deactivation is the way to go.
Logging Back In to Reactivate
If you miss your friends or need access to your old posts, reactivating is easy. Simply log back in with your credentials. The moment you enter your password, everything turns back on.
Your profile picture reappears, your page becomes active again, and your friends list returns. All your posts restore automatically because Facebook stored everything in backup.
You don’t need special steps or settings. Logging in alone reverses the deactivation.
What You Lose and Keep During Deactivation
What disappears:
-
- Your profile becomes invisible to others
- People can’t view your posts or tag you
- Your page vanishes from search results
- Your profile picture hides from view
What stays:
-
- Messenger can remain active (if you choose)
- Your messages stay in place
- Facebook keeps your data in backup storage
- Everything returns instantly when you reactivate
Why Deactivating Can Be Healthy
Sometimes the digital noise becomes too much. Taking a break gives you room to think, breathe, and focus on yourself. Social media can drain your energy when you need it most.
A temporary break allows you to reset without committing to permanent deletion. It becomes a private, peaceful pause that only you know about.
People often return feeling refreshed and more intentional with their online habits. A break can be exactly what your mind needs.
Common Problems and Solutions
Can’t deactivate? Double-check that you’re using the correct password. Use your mobile number or email to regain access if needed.
Messenger still active when you want silence? Return to Accounts Center, go to Account Ownership and Control, and disable Messenger visibility there.
Account won’t reactivate? You may have initiated a deletion request earlier. Log in quickly to cancel before the waiting period ends.
Choose What Feels Right
You deserve peace and control over your online space. Whether you deactivate, delete, or return later, the decision is fully yours. Social media is a tool, not a requirement.
Now that you know exactly how to deactivate Facebook with confidence, you can step away gracefully without stress. Choose whatever option protects your mental clarity and supports your life.
UP NEXT: How to Deactivate Instagram for Your Mental Health
Source link